A shared office hub may host a quiet conversation in the morning, a working lunch at midday and an event after dark. Its tables and ceiling can stay in place while the lighting needs change. A continuous line of light helps organise the architecture, but its shape alone cannot decide which of those activities it serves.
A useful layered-lighting brief gives each linear run a job: identify its target, describe how it should behave in each mode and establish the interfaces needed to deliver it. That makes the concept easier to discuss with the lighting designer, controls team and luminaire supplier. It also reveals when an attractive feature is being asked to do work that belongs to another layer.
Start with activities and sightlines
Walk through the proposed space as a sequence of activities. Where does a visitor pause to orient themselves? Where will someone read a document, speak across a table or look toward a presentation? Which areas remain occupied while the neighbouring zone changes use?
Mark those positions on the plan before drawing continuous runs across the ceiling. Include the important vertical surfaces and the views between zones. A wall behind a meeting table may be part of the background seen by participants; a prominent arrival feature may need to remain legible from the entrance. These are different targets from the tabletop itself.
Separate fixed and movable elements. If a pendant is aligned with a long communal table, establish whether that table is genuinely fixed. If the room will be rearranged, test the alternative layouts rather than calling the lighting flexible because it can dim. For the wider relationship between applications and specification, the architectural linear-lighting guide provides a useful starting framework.
Separate the visible feature from the light doing the work
The object that gives a room its identity need not provide all its useful illumination. A glowing curve can mark a social area while a separate distribution serves reading or discussion. Conversely, a restrained straight run may be the main task-lighting element without becoming the room’s visual centre.
What the LinkedIn Experience Centre makes clear
In ARC’s LinkedIn Experience Centre report, Ab Rogers Design’s interior and Ström’s lighting combine decorative and architectural layers. In the Arcade, the designers explain that the decorative lamps did not provide enough useful light for the tables and planting. Discreet downlights in a perforated raft supplemented them, alongside perimeter indirect light and lighting within banquette joinery. Fixed table positions also informed the coordination of ceiling perforations and downlights.
The transferable lesson from that project is to distinguish the visual role of a fitting from the surface it must illuminate, then coordinate both with the architecture.
For meetings, make the same distinction between participants, the background and documents. Facial illumination, vertical surfaces and horizontal light are related but distinct concerns. A bright table, considered on its own, does not settle the complete meeting-room brief. The project designer should determine the required criteria and assess the proposed arrangement from the relevant positions.
Map every linear run to a useful target
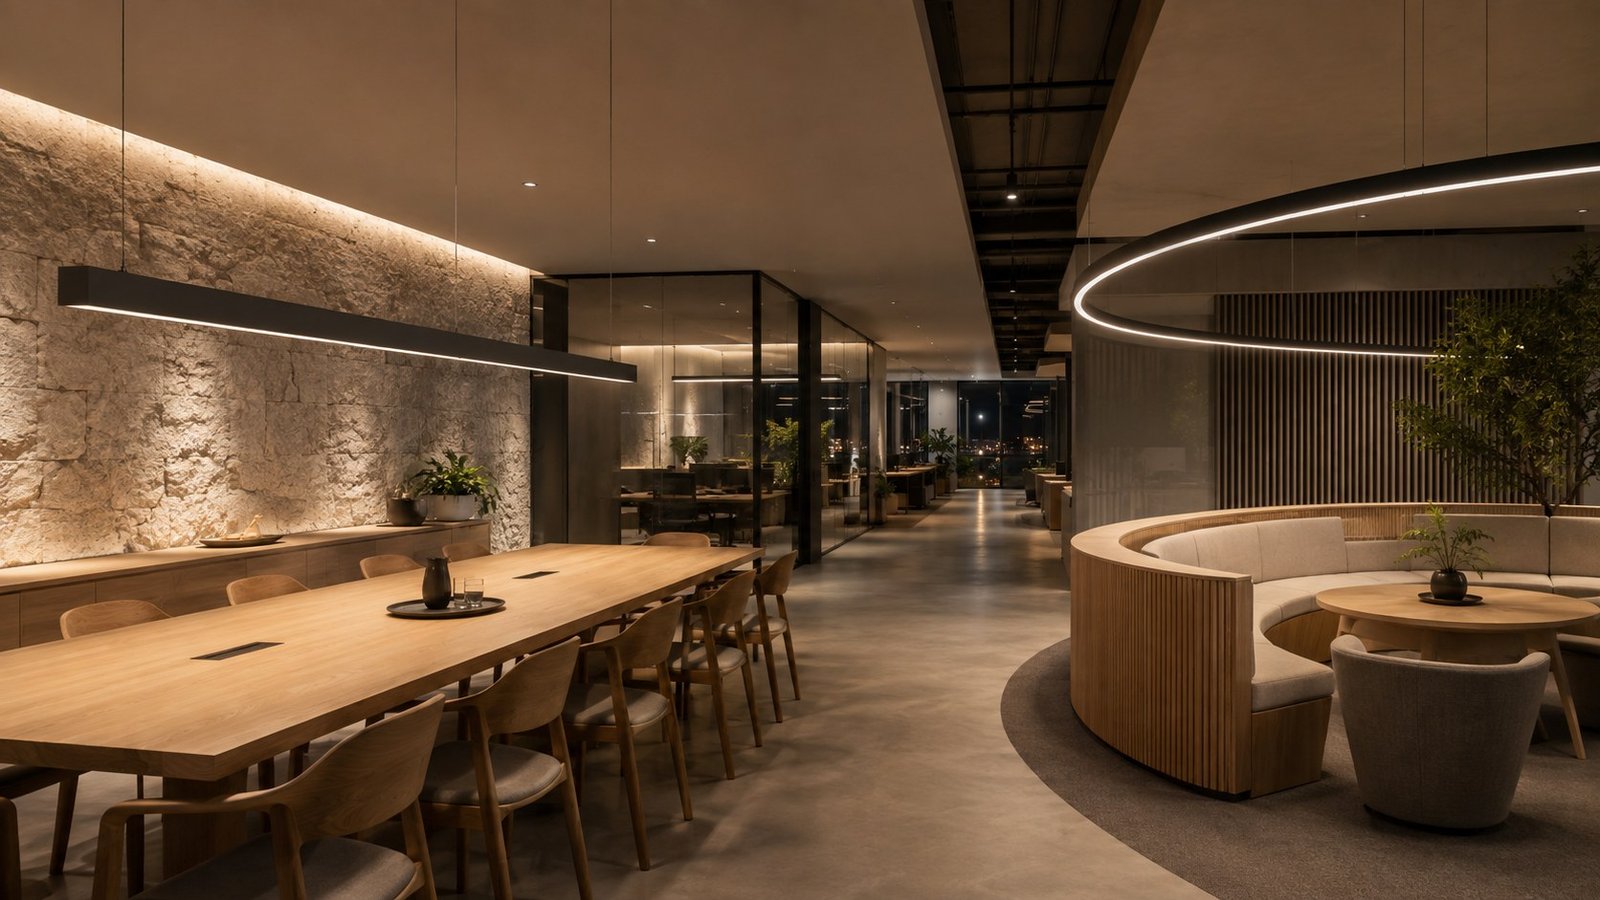
Consider a hypothetical office hub with a communal worktable, a wall used as a meeting background and a curved seating area beside the arrival route. Each proposed run has a primary task in this coordination example.
| Proposed run | Primary job | Check before selection |
|---|---|---|
| Straight suspended line over the communal table | Support the defined work on the table | Actual table layouts, distribution, viewing positions and suspension zone |
| Concealed line associated with the background wall | Make the selected wall read as part of the room | Receiving surface, position, shadows and proposed optical arrangement |
| Curved feature above social seating | Mark the seating area and carry the design language | Sightlines, visible geometry and whether separate functional light is needed |
| Line following the connecting route | Reinforce the intended route through the hub | Continuity of the route and spill into adjacent occupied areas |
The schedule should expose uncertainty. “Illuminates the wall” is still incomplete if the supplier has only been shown a profile outline. Identify the intended surface and ask for the proposed optical assembly to be evaluated in its actual position. If the line is primarily a visible feature, say so; do not allow that label to become an untested claim about task performance.
A single run may contribute to more than one job. Record the primary one and the secondary contribution so neither is assumed. Two runs that look identical can also need different distributions or control groups. Visual continuity is an architectural decision; optical performance and electrical grouping need their own decisions.
Where a curve carries the concept, the Felix curved-profile overview can support an early family discussion. It does not replace a drawing review of the particular geometry, segmentation or mounting condition.
Write scenes as behaviour, not dimmer percentages
“Meeting mode” should describe what people need to see and what changes in the room. A list of dimming percentages without those intentions is difficult to judge before the actual luminaires, drivers and control system have been selected.
For the hypothetical hub, a working scene might retain useful light at the communal table and a defined background. A social scene might make the curved feature more prominent while the table remains usable for the activities still expected there. A presentation scene needs a separate check of the presentation surface, participants and surrounding areas. These are proposed behaviours to develop with the designer, not preset levels to copy into a controls system.
Test the transition between meeting and social use
Imagine that a small meeting continues while an evening event begins in the neighbouring seating area. If all the visually connected runs respond to one command, changing the event area may also change the meeting light. The plan therefore needs to show the intended control boundaries as well as the continuous geometry.
Record who can select a scene, whether local adjustment is needed and how the space returns to its normal state. Then have the controls team and supplier confirm that the selected loads, drivers and interfaces can support that behaviour. “Dimmable” does not, by itself, describe the complete operating sequence.
Check the transition in the proposed layouts, including views across zones. Where a mock-up is used, agree what it must demonstrate: the appearance of the visible line, the intended receiving surface, the interaction with nearby lighting or the operation of the controls. A mock-up of one of these aspects should not be treated as proof of all the others.
Coordinate the physical interfaces before the line is fixed
Once the roles and scenes are clear, draw the relationships that can still defeat them. A ceiling plan shows alignment; a section explains the mounting space, adjacent surfaces and the position from which the luminous element may be seen. Add the relevant furniture arrangement, proposed control boundaries and access requirements to the same coordinated package.
For example, a concealed line intended to light a wall needs more than a recess outline. The brief should identify the target wall and finish, the proposed location of the light source and optic, the space reserved for the assembly and how it will be accessed. Ask the appropriate designer or supplier to confirm each part. If the detail changes, reassess the lighting intention rather than preserving a visually neat line at any cost.
Assign responsibility for open decisions. The architectural team may control the ceiling and joinery; the lighting designer establishes the intended result; the supplier confirms the proposed assembly; the electrical and controls teams coordinate operation. The actual project appointments determine those responsibilities. Put the agreed owner and drawing revision beside each unresolved interface so it can be closed deliberately.
The custom linear-lighting project guide helps frame that wider coordination, while the cutsheet checklist identifies the documentation to request once an assembly is proposed.
Share your zone plan and linear-lighting brief with Felix. Include a short run-and-scene schedule and the relevant ceiling or joinery sections. Ask Felix to confirm the proposed profile, optical arrangement and supply scope against those requirements before treating the concept as a specified product solution.